The Ultimate Checklist for Installing Colorbond Fencing
Table Of Contents
Marking the Fence Line
Accurate marking of the fence line is crucial for a successful installation of Colorbond fencing. Start by selecting a string line that can be tautly drawn between the identified corners of the area where the fence will be placed. The string acts as a guide, ensuring the posts and panels remain aligned and straight along the designated path.
Utilise a measuring tape to determine the correct distance from the property boundary, ensuring compliance with local regulations. Mark the ground at each post location with spray paint or stakes. This visual cue helps in confirming the positioning of the posts before digging begins. Careful attention at this stage prevents potential adjustments later, making the process smoother and more efficient.
Techniques for Accurate Marking
Using a string line is one of the most effective methods for marking your fence line. Begin by determining the desired location for your fence and identify corner posts or end points. Stretch the string tightly between these points to create a straight line. This will act as a visual guide, ensuring that your fence remains level and aligned during installation. It is essential to check the height of the string line from the ground to guarantee consistency across the entire length of the fence, adjusting it as needed.
Another reliable technique involves using marking paint or stakes to denote the path of the fence. Marking paint can be applied directly onto the ground at intervals along the proposed line, providing clear visual references. Alternatively, placing stakes in the ground can help to outline corners and transitions, which can be especially useful for curved or uneven terrain. Ensure the stakes are visible and securely placed, as they will guide you through the installation process, maintaining the intended line and position of the fence.
Installing Fence Posts
Establishing a solid foundation is crucial for a durable fence, beginning with the installation of fence posts. Start by determining the appropriate spacing between each post based on the specific panels you are using. Standard spacing is typically around 2.4 metres apart. Excavate holes that are deep enough, usually about one-third of the post height, to ensure stability. Consider using a post-hole digger or auger for efficiency, especially in tougher soil conditions.
Once the holes are prepared, place the posts within them, ensuring they are upright and level. To secure the posts effectively, fill the holes with concrete or gravel, tamping it down firmly to eliminate air pockets. Allow sufficient time for the concrete to cure as per the manufacturer's instructions before moving on to attaching the panels. This careful attention to detail ensures the posts will withstand wind and pressure while providing a sturdy support for the fencing.
Steps for Proper Post Placement
Begin by determining the precise locations for the fence posts, ensuring they align with the marked fence line. It is essential to maintain consistent spacing, typically set at 2.4 meters apart for standard Colorbond fencing. Use a measuring tape to confirm distances and mark each point with a stake or spray paint. Double-check that these markers are level before proceeding to the next step, as any discrepancy can lead to complications during installation.
After measurements are confirmed, the next task involves digging the post holes. Each hole should ideally be around 600mm deep, allowing for adequate support. When digging, avoid rocks or roots that may hinder post stability. Place a gravel base at the bottom of each hole for drainage and additional support. Insert the posts into the holes and ensure they are plumb using a spirit level. Backfill with soil or concrete and compact it firmly, providing a solid foundation for the colorbond panels that will be attached later.
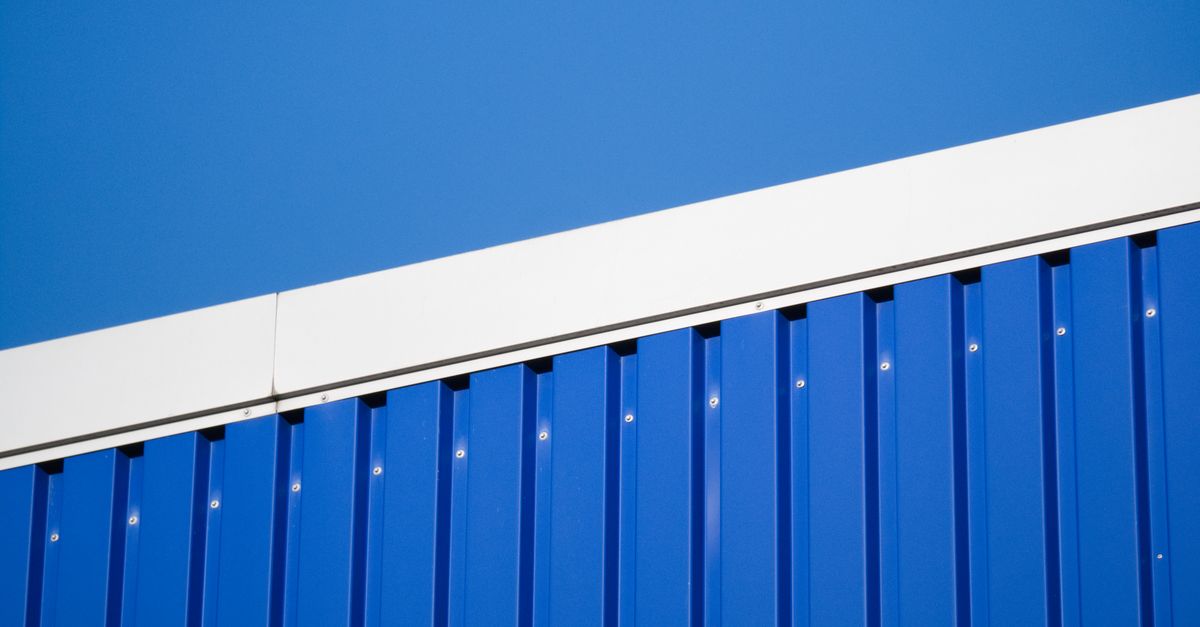
Attaching the Panels
Once the posts are securely in place, it's time to attach the Colorbond panels. Begin by placing the first panel into the slots of the adjoining fence posts. Ensure it is level before proceeding with the next stages. Use a rubber mallet to gently tap the panel into its final position if needed. Carefully check the alignment with the ground and adjacent panels to maintain a uniform look throughout the fencing.
After the initial panel is fixed, the subsequent panels can be installed in a similar manner. Slide each panel into the corresponding posts, making sure to keep them vertical and aligned. Use the appropriate fasteners, such as screws or clips, to secure the panels in place. Double-check the tightness of each attachment to safeguard against movement or shift over time. Proper installation ensures durability and enhances the overall appearance of the fence.
Securing Colorbond Panels Effectively
When securing Colorbond panels, it is essential to ensure that each panel is installed with precision. Begin by aligning the bottom edge of the panel with the ground and ensuring it is level. Use straps or clamps to hold the panels in place temporarily as you work. Once the panel is positioned correctly, use screws that are specifically designed for Colorbond materials, as they provide optimal performance and durability. Space the screws according to manufacturer guidelines to ensure stability.
After the screws are in place, it's important to inspect each panel thoroughly. Check that all screws are tight and that the panels fit snugly against the posts. This attention to detail will help to enhance the overall strength of the fence and its resistance to wind and other external pressures. Regular maintenance checks can help identify any loose panels or screws that may need attention over time.
FAQS
What materials do I need for installing Colorbond fencing?
For installing Colorbond fencing, you'll typically need Colorbond panels, fence posts, post caps, concrete (for securing the posts), a spirit level, a measuring tape, and a mallet or hammer.
How do I ensure my fence line is straight?
To ensure your fence line is straight, use a string line or a laser level to mark the desired line. Take measurements at regular intervals to confirm accuracy and make adjustments as needed before installation.
What is the recommended depth for fence posts?
The recommended depth for fence posts is generally one-third of the total post length. For example, if your posts are 2.4m long, they should be set at least 800mm deep in the ground, depending on your local soil conditions and wind exposure.
How do I attach the Colorbond panels to the posts securely?
To attach Colorbond panels securely, slide the panel into the post and ensure it sits firmly. Use the appropriate screws or brackets recommended for Colorbond fencing to secure the panels to the posts, ensuring they are tightened appropriately.
Can I install Colorbond fencing on sloped land?
Yes, you can install Colorbond fencing on sloped land. Adjust the height of the posts and use a stepped or raked installation method to accommodate the slope while ensuring the panels remain level and secure.
Related Links
Detailed Instructions for Setting Up Colorbond FencingExpert Tips for Seamless Colorbond Fence Installation
Tools and Materials Needed for Installing Colorbond Fencing
Navigating Common Challenges During Colorbond Fence Installation
Step-by-Step Process for Crafting Your Colorbond Fence
DIY Guide to Installing Colorbond Fencing with Ease