Step-by-Step Process for Crafting Your Colorbond Fence
Table Of Contents
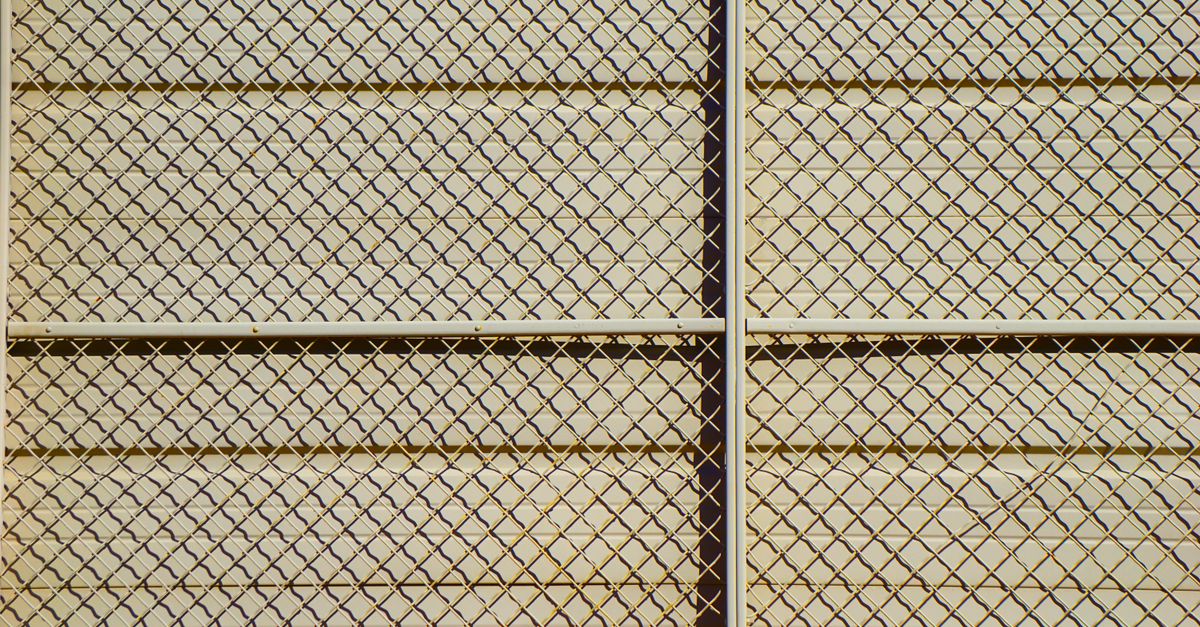
Attaching Horizontal Rails
Begin by measuring the correct height for the horizontal rails using a level. Mark the positions on the posts where the rails will be attached. Ensure that these measurements are consistent across all posts to maintain an even fence line. Use a drill to create pilot holes in both the posts and the rails, which will help prevent splitting the timber during installation.
Position the horizontal rails in place, ensuring they align with the marked heights. Secure them using appropriately sized screws, driving each one in at an angle for added strength. Tightening the screws firmly will ensure stability. Check each rail for levelness before moving on to the next, ensuring a professional finish. Once all rails are attached, inspect the entire fence structure for any potential adjustments needed for a cohesive look.
Proper Techniques for Secure Fencing
Ensuring secure fencing relies on the correct installation of horizontal rails. Begin by measuring the desired height and spacing, taking care to align them accurately. Use a level to confirm that the rails are straight, as any deviation can lead to structural weakness. Fix the rails tightly using screws or brackets, making sure they are sunk deeply into the posts. This method prevents any movement that could compromise the integrity of the fence over time.
Using quality materials contributes significantly to durability. Choose appropriate timber or steel for your horizontal rails, considering the local weather conditions and soil type. Regularly inspect the rails for signs of wear and tear, addressing any issues promptly to maintain stability. Applying a protective coating can also enhance longevity, particularly for timber rails exposed to moisture. These steps create a robust foundation, ensuring your Colorbond fence remains secure and functional.
Installing Colorbond Sheets
Before installing the Colorbond sheets, ensure that you have the correct measurements for your fence panels. Begin at one end of the fence line and position the first sheet against the framework. It should overlap slightly with the adjacent rail. Use a level to confirm that it is straight and then secure it in place using appropriate screws or fasteners. Aim for screws to be evenly spaced, typically around 600mm apart, to provide stability and support against wind exposure.
As you continue to install each sheet, check that the panels fit snugly together without gaps. This prevents pests and weather elements from causing damage. Once you have installed all the sheets, inspect each section for uniformity in height and alignment. Address any inconsistencies before proceeding to the next phase of your fence project. Using protective gloves is advisable during this step to ensure safety while handling the galvanized materials.
Steps for Effective Sheet Installation
Begin by preparing the area where the Colorbond sheets will be installed. Ensure the posts and rails are securely attached and level, as this foundation is crucial for a successful installation. Place the first sheet of Colorbond against the rails, aligning it with the edge of the posts. Use appropriate tools, such as a spirit level and measuring tape, to guarantee accurate positioning. Once aligned, drill pilot holes into the sheet, ideally spaced 600mm apart, to make it easier to insert screws without damaging the material.
Next, secure the Colorbond sheet to the horizontal rails using self-drilling screws specifically designed for metal. It’s important to fasten the screws without overtightening, as this can cause warping or damage to the sheets. Repeat the process for each subsequent sheet, ensuring that the overlapping edge meets the previous one correctly. Check for alignment and levelness continuously to maintain a professional finish throughout the installation. Once all sheets are in place, inspect the overall structure for any gaps or misalignments that may need addressing.
Adding Finishing Touches
After installing your Colorbond fence, it's important to pay attention to the final details for both aesthetics and durability. These last touches can significantly enhance the overall look of your fencing. Consider painting the posts in a colour that complements your home. Adding a cap to each post not only provides a polished appearance but also offers protection against the elements, promoting longevity.
Another practical addition includes sealing any gaps or joints with a suitable weatherproof sealant. This helps prevent moisture intrusion and reduces the risk of rust over time. Incorporating decorative elements such as lattice panels or horizontal slats can also add visual interest. Make sure to regularly inspect your fencing for wear or damage, as prompt maintenance will keep your Colorbond fence looking its best while ensuring its effectiveness in providing privacy and security.
Enhancing Aesthetics and Durability
The final appearance of a Colorbond fence can be significantly improved by incorporating decorative capping. The addition of capping not only provides a clean, finished look but also offers extra protection against moisture and debris. With a variety of styles and colours available, homeowners can select options that complement the surrounding landscape and existing structures, enhancing the overall aesthetic appeal of the property.
Regular maintenance is essential for ensuring longevity. Inspecting for any signs of rust or damage should be part of a seasonal routine. Cleaning the surface with mild soap and water can also prevent the build-up of dirt and grime that could affect both appearance and integrity. Applying a high-quality sealant designed for metal surfaces can further enhance durability while preserving the original colour of the fence.
FAQS
What materials do I need to build a Colorbond fence?
To build a Colorbond fence, you will need Colorbond sheets, horizontal rails, posts, concrete for securing the posts, screws, and tools such as a drill, level, and saw.
How deep should the posts be set in the ground?
The posts should typically be set at least one-third of their length in the ground, usually around 600mm deep, to ensure stability and support for the fence.
Can I install a Colorbond fence on uneven ground?
Yes, you can install a Colorbond fence on uneven ground by adjusting the height of the posts or using a step method to accommodate the slope, ensuring that the sheets are level.
How do I ensure my Colorbond fence is secure?
To ensure your Colorbond fence is secure, follow proper techniques for attaching horizontal rails tightly, use quality materials, and set the posts in concrete to provide a strong foundation.
What finishing touches can I add to enhance my Colorbond fence?
Finishing touches may include adding post caps for a polished look, applying protective coatings, or installing decorative features such as lattice or planter boxes for added aesthetics.
Related Links
Navigating Common Challenges During Colorbond Fence InstallationDIY Guide to Installing Colorbond Fencing with Ease
Tools and Materials Needed for Installing Colorbond Fencing
Detailed Instructions for Setting Up Colorbond Fencing
The Ultimate Checklist for Installing Colorbond Fencing