Detailed Instructions for Setting Up Colorbond Fencing
Table Of Contents
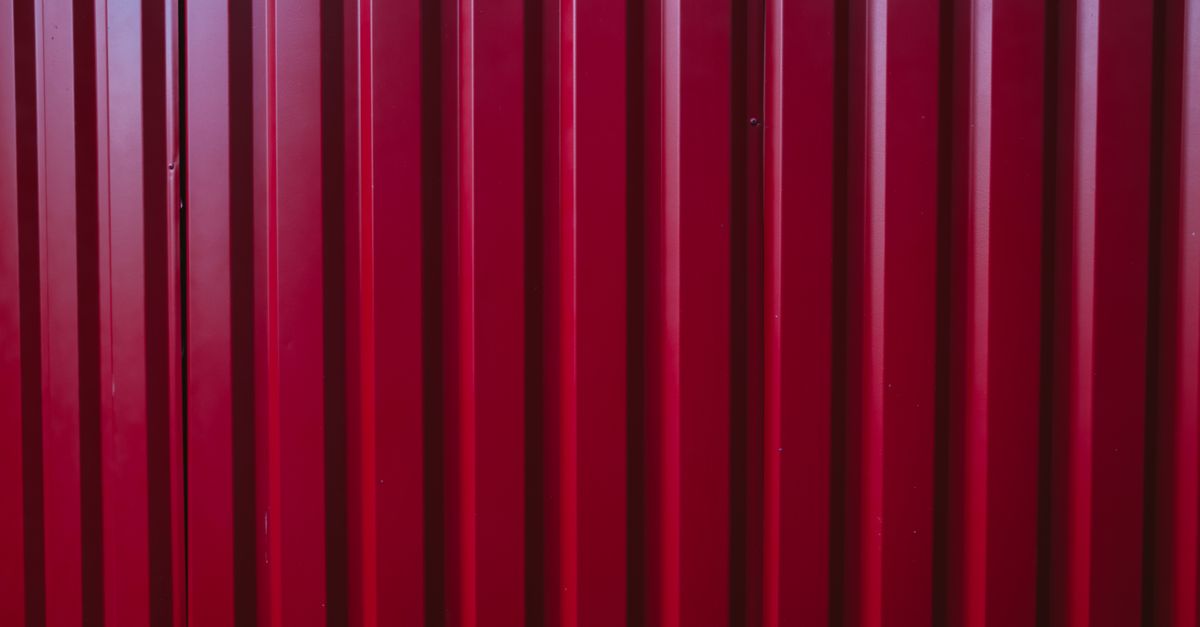
Attaching the Colorbond Sheets
Begin the process of attaching Colorbond sheets by deciding on the orientation of the panels as this will ensure a uniform look across the fence. Position the first panel between the end post and the intermediate post. Use a spirit level to confirm that the panel is vertical. Once aligned, drill pilot holes into the edge of the panel, ensuring that they are evenly spaced along the height of the sheet for stability.
Next, insert the screws into the pilot holes and tighten them securely to attach the panel to the posts. When securing the panels, make sure to follow any specific guidelines provided by the manufacturer to avoid damage. After attaching the first panel, repeat the process for subsequent sheets, ensuring that each panel fits snugly against its neighbour. Regularly check that the panels are even and properly aligned to maintain a clean and professional appearance.
Securing Panels to the Framework
Begin by aligning the Colorbond sheets with the framework. Ensure that the bottom of the panel is resting on the base rail. Use the pre-drilled holes as guides for placing screws into the side rails. It is essential to maintain a level alignment, as uneven panels can compromise the overall aesthetics and functionality of the fence. Once positioned, securely fasten each screw to hold the panel firmly in place.
After securing the panels, double-check the alignment and integrity of each connection. If necessary, adjust any panels that appear misaligned. This step is essential for creating a stable and durable fence structure. Inspect all fastened screws to ensure they are tight and properly seated. A well-secured panel will withstand shifting due to weather conditions and will require less maintenance over time.
Adding Finishing Touches
Once the Colorbond sheets have been securely attached, attention can turn to enhancing the overall appearance of the fence. Installing cap rails on top of the panels not only provides a polished look but also offers additional protection against the elements. These rails act as a barrier against rain and debris, ensuring durability over time. Choosing a cap rail that matches or complements the Colorbond colour can further elevate the aesthetic appeal.
Post covers serve a dual purpose, covering the exposed tops of the posts while adding a decorative element to the fencing structure. Available in a range of styles and finishes, these covers can be chosen to match the overall theme of your outdoor space. Securing them in place is typically straightforward, ensuring a snug fit that resists wind and wear. Taking the time to add these final touches will ensure that your Colorbond fence stands out beautifully while providing long-lasting protection.
Installing Cap Rails and Post Covers
Cap rails and post covers play a vital role in providing a polished appearance to your Colorbond fencing. These elements not only enhance the overall aesthetic but also offer protection against weather elements and potential damage. To begin, measure the top of each fence panel and the posts where the cap rails will be installed. Cut the cap rails to the appropriate lengths, ensuring they fit snugly onto the panels. When placing the cap rails, ensure they sit evenly, then use screws or clips to secure them firmly in place.
Post covers add an extra layer of protection and improve the visual appeal of your fence posts. Start by selecting post covers that match the colour and style of your Colorbond sheets. Position the covers over the posts, ensuring they fit tightly. You may need to use adhesive or screws to secure them, depending on the design. Regularly check the integrity of the cap rails and post covers to ensure everything remains in place and continues to serve its protective function.
Maintenance Tips for Colorbond Fencing
Regular maintenance is essential for preserving the appearance and integrity of Colorbond fencing. Cleaning should be done at least twice a year. A gentle wash with soapy water helps remove dirt and grime. Avoid using abrasive materials, which can scratch the surface. For tougher stains, consider a solution of vinegar and water. This will help to maintain the vibrant colour and finish of the sheets.
Visual inspections are important to identify any signs of wear or damage. Look for rust spots or signs of corrosion, particularly around the joins and edges. Addressing these issues promptly can prevent further deterioration. If you notice any significant damage, consult a professional for repairs to ensure your fence continues providing security and aesthetics for your property.
Cleaning and Inspecting Your Fence
Regular cleaning of your Colorbond fencing ensures it stays looking its best while preventing any potential damage. A soft brush or sponge paired with mild soapy water will suffice for most dirt and grime. For tougher stains, a solution of vinegar and water can effectively break down organic matter, while freshly fallen leaves should be promptly removed. High-pressure water cleaners are not recommended, as they can strip away protective coatings and might cause more harm than good.
Inspecting your fence periodically allows you to catch any minor issues before they escalate. Look for signs of rust or scratches, particularly around the base where moisture might accumulate. Additionally, check the panels for any loose fittings or warping that may have occurred due to extreme weather. Addressing these concerns quickly can extend the lifespan of your Colorbond fence and keep it functioning effectively.
FAQS
What materials do I need to set up Colorbond fencing?
To set up Colorbond fencing, you will need Colorbond sheets, panels, a framework (posts and rails), cap rails, post covers, screws or nails for securing, and tools such as a drill, level, and measuring tape.
How do I ensure the Colorbond sheets are securely attached?
You can ensure the Colorbond sheets are securely attached by carefully following the instructions for securing panels to the framework, using the appropriate screws or nails, and ensuring that everything is level and aligned properly.
What finishing touches should I consider for my Colorbond fence?
Finishing touches for your Colorbond fence may include installing cap rails and post covers to enhance its appearance and provide additional protection against the elements.
How often should I clean and inspect my Colorbond fence?
It is recommended to clean your Colorbond fence at least once a year and to inspect it for any signs of damage or wear, especially after harsh weather conditions.
Can I paint or change the colour of my Colorbond fence?
Colorbond fencing is designed to be low maintenance and retain its colour for many years; however, if you want to change the colour, it is advisable to consult the manufacturer’s guidelines as painting may void warranties.
Related Links
DIY Guide to Installing Colorbond Fencing with EaseThe Ultimate Checklist for Installing Colorbond Fencing
Tools and Materials Needed for Installing Colorbond Fencing
Navigating Common Challenges During Colorbond Fence Installation
Step-by-Step Process for Crafting Your Colorbond Fence